
New Ceiling Fan Installation Service
The ceiling fan is a magnificent alternative to place in many rooms and enjoy a more cozy atmosphere. With the high summer temperatures, especially in recent years, where heat waves give no respite, this system is a good choice. In fact, there are many people who cannot stand air conditioning and prefer this device to stay much cooler.
Most people agree that ceiling fans are an economical and easy-to-install option. However, at this point, there are certain controversies, since, just as there are buyers who are very skilled at installing them, not everyone has the balance, patience, and skill to achieve it. For this reason, when choosing the model that suits our needs, it is most convenient to ask if it includes the installation service.
How to install a ceiling fan step by step
There are several factors to consider before choosing the ceiling fan that meets the characteristics we are looking for. We can think about the blades, the motor, the design, the lighting, and the budget. However, we often forget a key aspect: the installation.
There are people who, no matter how much they read the manufacturer's instructions, do not achieve a good fan installation. Although, in many cases, the manual is not necessary, just a bit of intuition and logic to achieve a good result, they prefer to trust a good technician to do this job.

One of the biggest advantages of buying one of the models in Mellerware is that it collaborates with an associated company that offers this technical service. It is Wolly, a true reference in this sector, with qualified technicians with a lot of experience to ensure a quality service.
Installing a ceiling fan requires a series of skills to ensure the efficiency of the equipment. Below, we offer you a detailed guide on how this work is done and what steps they follow.
Step 1. Preparations and tools
First, the technician will proceed to disconnect the electricity to avoid unnecessary risks. In addition, they will be equipped with all the necessary tools to carry out a professional job in the stipulated time. The most common tools used are a Phillips screwdriver, a voltage tester, a drill bit, a drill, and a level.
Step 2. Examine the installation site
Before starting their work, the technician will ensure that the location chosen by the client is the most appropriate. That is, they must check that the measurements do not pose an obstacle to the proper functioning of this device.
The ceiling fan should be 2.10 meters from the floor and must maintain a distance of 30 cm from the wall. The technician will also check that the ceiling perfectly supports the weight of this device and that there are no risks of it detaching.
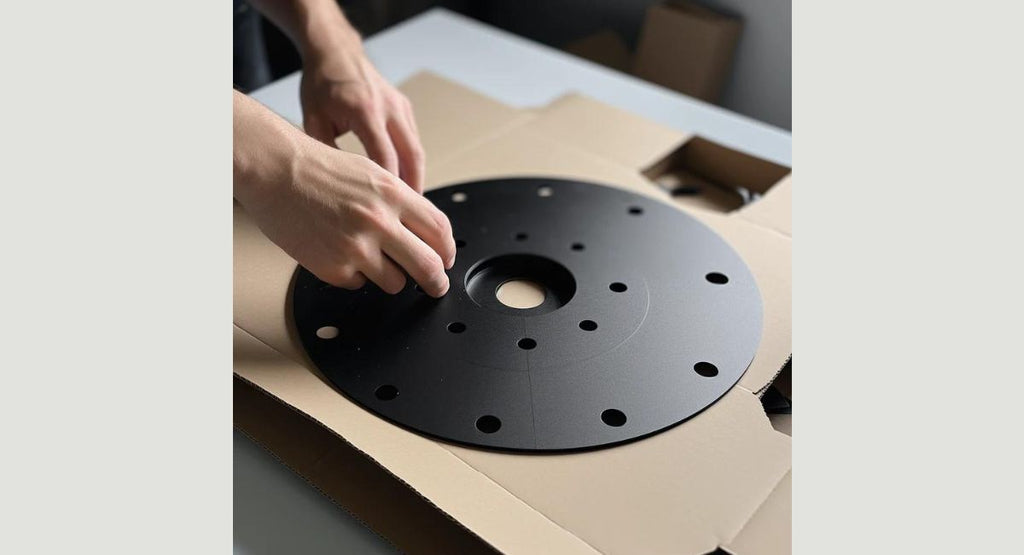
Step 3. Preparation of the fan mount
Once it has been verified that everything is in order, it's time to start the installation. In this case, they need to begin to prepare the fan mount, to achieve this, they will use a pencil to mark the holes.
Next, they will proceed to make the holes and place the anchors with a screwdriver until the mount is perfectly fixed to the ceiling. They must also check for any unevenness, which is common in some homes.
Step 4. Install the fan motor
Once the previous structure is well secured, now you need to attach the motor. Many models have a hook that helps with this process. It is important to pay attention to this detail before starting this step.
Then, you will need to connect the motor wires with those in the ceiling, according to the manufacturer's instructions. Usually, they have the same color, but it is essential to make the connection correctly to ensure proper functioning.
The brown wire , or failing that, the gray or black, is considered as phase. While the blue wire is neutral and the green-yellow is considered as ground. The wires are placed in the terminal strip and the screws are tightened well to ensure a firm connection.
Step 5. Assemble the blades
The fan blades must rotate counterclockwise. This will allow an air current to be generated that adequately disperses the heat and offers a good thermal sensation.
Normally, it is these devices come with the blades disassembled so that they fit in the same box. Really, their assembly is not complicated, since they fit in the same position to avoid assembly errors.
To place the blades, the technician will attach each of them to the motor support. To achieve this, they will use the required screws and washers to ensure that all of them are balanced.
Step 6. Final check
When it has been verified that the fan is correctly installed, you must reconnect the electrical current. If the device operates by remote control, you must verify that it is synchronized with this device.
When electricity is connected, you also need to ensure that all speeds work correctly. If you notice any excessive vibration or any problem arises, it is most advisable to disconnect the power again and resolve it.
It is about adopting all the safety measures that are necessary in any type of electrical work, including this installation. For this reason, many customers prefer to leave these tasks in the hands of professionals to save time and avoid accidents.

In conclusion, if you are interested in having a technician do the installation of the ceiling fan at home, you just have to let us know. In less than an hour, they will contact you via WhatsApp to schedule the appointment. From Mellerware, we commit to sending the information to Wolly so they can assign the professional to carry out the installation. In case of doubts, request information with no obligation on our website!